Trade Members Get 10% Off. Sign Up Today
How To Install LED Strip Lights
LED strip lights have revolutionised the way we light up our homes and office spaces, thanks to their versatility and many benefits. Whether you’re looking to add ambient lighting to your kitchen or commercial space, or you need some task lighting for your office, LED strip lights allow you to transform any space with a stylish and cost-effective lighting solution. Simply follow this guide to learn how to install LED strip lights for yourself.
- Choosing the right strips
- Powering your setup
- Installation tips
- Installing on ceilings or walls
- Installing under cabinets
- Outdoor installation
- Connecting to a controller
- Linking multiple strips together

Choosing The Right LED Strip Lights
LED tape is available in a variety of colours, such as amber, blue, green, pink, and red, as well as different temperatures, including cool, neutral, and warm white. If you prefer versatility, opt for colour-changing strips. LED tape also varies in wattage — from 5 to 25 watts — affecting brightness measured in lumens. This range allows you to achieve your desired look.
Most strips have adhesive backing for easy installation and can be cut to different lengths from five-metre reels. When selecting lights, consider the tape's width compared to your installation area. Check the number of LEDs per metre, as it impacts light dispersion. Higher LED density reduces spotting effects, though it may cost more.
LED light strips can warm up slightly when on, so it's best to install them on metal surfaces to dissipate heat. If metal isn't an option, use a profile with brackets to mount them securely.
How Do You Power LED Strip Lights
Most LED strip lights uses constant voltage and can be powered by the mains power supply. But, because UK mains power has a higher voltage and current to what is necessary to power LED strip light, you'll need to install a driver to lower both the voltage and current. Take a look at our guide to find out more about what a LED driver is and what LED driver you need.
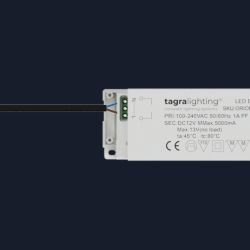
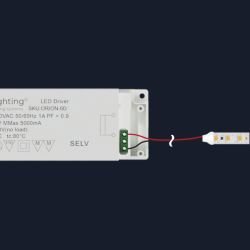
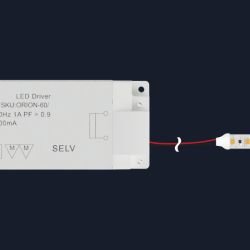
After you have chosen the LED driver that suits your requirements you'll need to connect this to your mains power supply. LED drivers have an input side and an output side. The input side is where you connect a mains cable and UK plug, and the output side is where you connect your LED strip light.
To illuminate your LED strip lights you will need your reel of LED strip light, a compatible LED driver, a compatible LED connector and some low voltage LED cables. Alternatively, our LED strip light kits come with everything you need to get started.
Follow these steps to connect your LED strip lights to the mains power supply:
1. On the input side of the LED driver, connect a mains cable and UK plug, ensuring the positive (+), negative (-), and earth (ground) are correctly wired.
2. On the output side, connect your LED strip light to the corresponding positive (+) and negative (-) terminals on the LED driver. Our LED strip light comes with pre-attached wires, making it easy to connect.
3. Before turning on the mains power supply, ensure the terminals are correctly wired, secure, and that terminal covers are replaced.
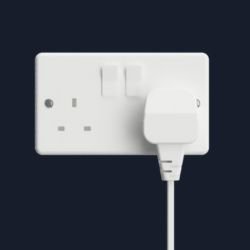
4. Connect the UK plug to a socket and switch it on. If everything is wired correctly, your lights will illuminate.
How To Install Strip Lights
LED strip lights are very straightforward to install. All our LED strip lights come with an adhesive backing making them quick and easy to install onto a surface.
The adhesive backing works like double-sided tape and attaches to most surfaces. We recommend that you use an aluminium LED profile. LED profiles can be securely mounted to a surface and offer a more reliable fitting. The adhesive backing firmly attaches to aluminium and the aluminium offers technical benefits as it conducts the heat produced by the LED strip lights.
How To Install On A Ceiling Or Wall
LED strip lights can look great on your ceiling or walls as a stylish feature or creative task lighting.
You have different options when it comes to installing your LED strip lights on a ceiling or wall:
- Option 1: Use an LED profile that can be surface mounted, recessed into the surface or plaster-in to finish flush with the wall. We also stock corner LED profiles that can be fitted where the wall meets the ceiling.
- Option 2: Install the LED strip lights behind an existing surface such as a lip, edge, drop ceiling, or coving. This will hide the glare from the strip lights and give a radiated glow to the room.
How To Install Under Cabinets
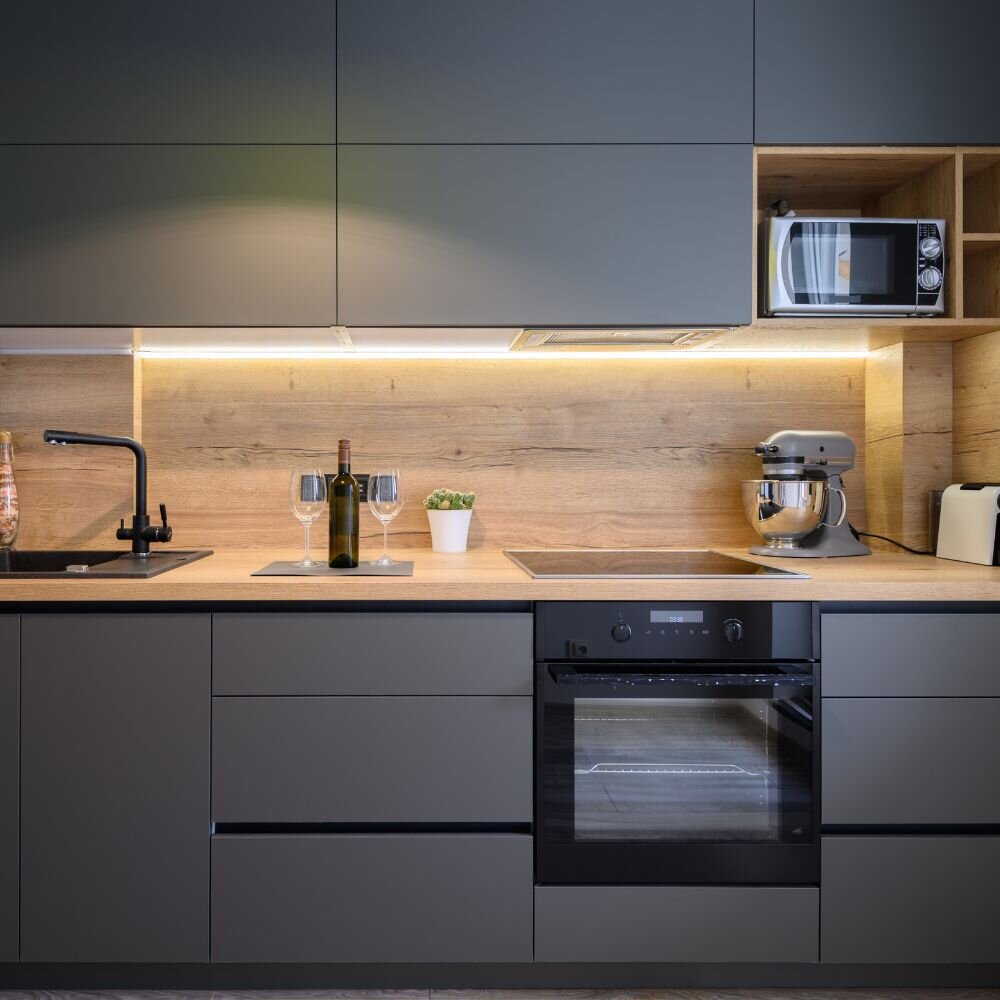
LED strip lights also look great when installed under cabinets to provide task lighting.
Again we suggest that you use LED profile that can be mounted onto the cabinet surface to house the LED strip lights. If you're not using profile, try to place your strip lights behind a lip or with most cabinets being deep, place the strip light towards to back. This will help to provide a wash of light and reduce any glare from the strip lights. It also offers better positioning to hide any wires or cables to and from the LED strip lights.

Installing Outdoors
If you want to install LED strip lights outdoors, you'll need to buy strip lights and an LED driver with an IP rating of at least IP67. This rating provides protection against dust and jets of water. These work just like their non-water resistant counterparts, so they're just as easy to install.
Even though these products have an IP67 rating we recommend that you install them in an outdoor location where they are not in direct contact with water/rain.
How To Connect Strip Lights To A Controller
An LED controller is installed between the LED drive and the LED strip light. It's purpose is to control the light output of the strip light.
Much like LED drivers, LED controllers have an input side and an ouput side. The input side takes the power from the LED driver, adds a signal or message to the power and sends it to the LED strip light on the output side.
Connecting a controller is simple and just involves some additional wiring. LED controllers can be used for white strip lights, single colour strip lights, colour changing strip lights and pixel strip lights and can either be remote controlled or controlled with a mobile app. If you want to control more than one length of strip light then you'll need to use multiple controllers.
How To Connect Multiple Strips Together
If your project or installation requires more than 5 metres of LED strip light or a 5 metre length split into two, you can easily connect lengths of LED strip lights together using our range of connectors. These connectors are simple to use as they require no soldering.
Bear in mind that LED strip lights have a maximum length that they can achieve when powered from one end. This is because of something called voltage drop. This means that if you want a length of LED strip light more than 8 metres you will need another power supply to stop any voltage drop.


