Trade Members Get 10% Off. Sign Up Today
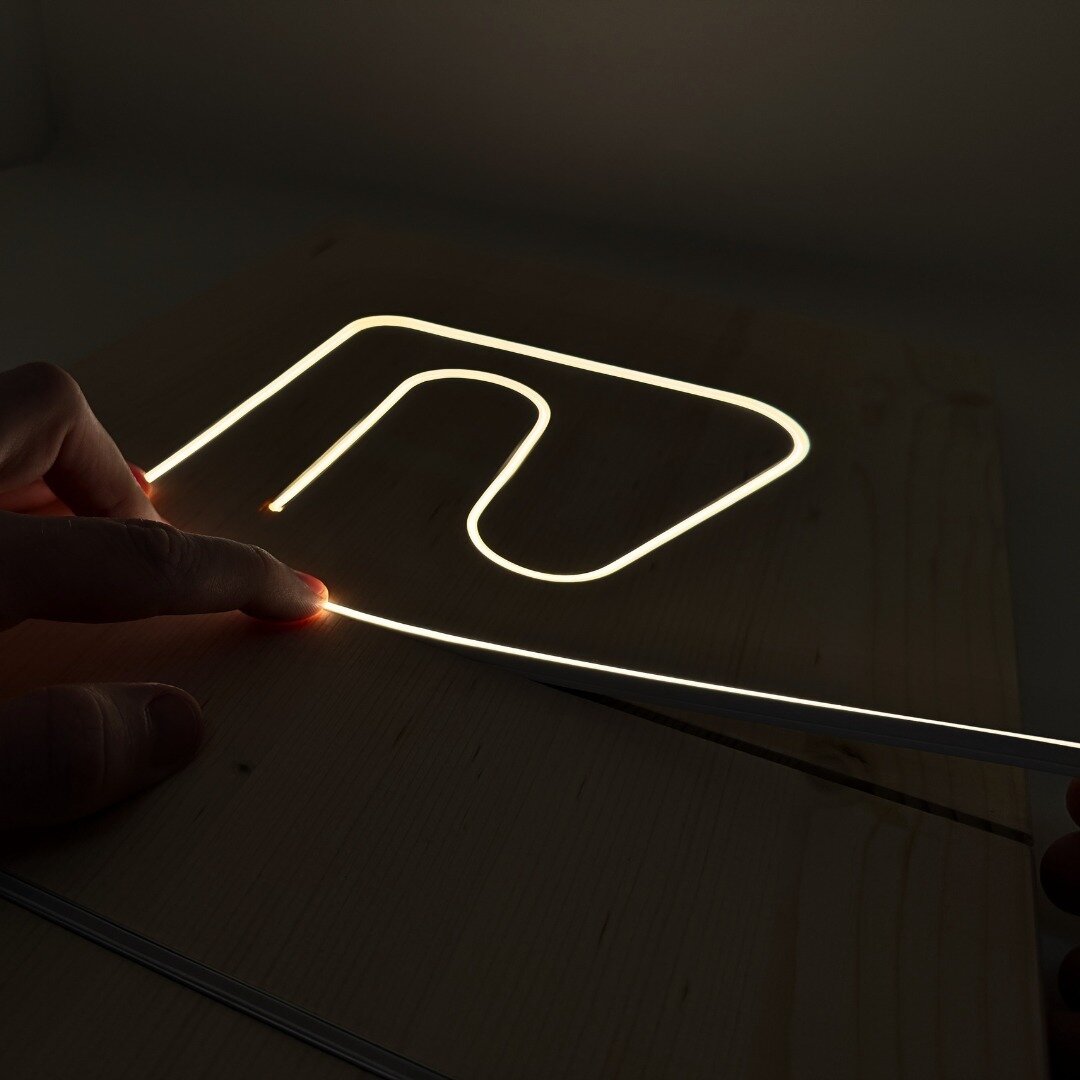
Why Your LED Installation Isn't Working & How To Fix It
It’s common to encounter issues during LED installations, including incorrect wiring, voltage mismatches and overloading drivers. Even minor errors can lead to flickering, uneven output or system failure.
Whether you're installing LED tape, Neon Flex, or LED Profiles, getting it right from the start ensures consistent output, extended lifespan and compliance with safety standards.
This article breaks down the most common mistakes made in commercial, joinery and display lighting projects — and how to avoid them.
Watch our YouTube video for a full breakdown and practical advice on how to avoid them.
- Mismatched Voltages
- Incorrect Wiring And Connections
- Exposed LED Strips Without Diffusers
- Overloading The Power Supply
- Cutting LED Strips Incorrectly
Why Proper LED Installation Matters
Mistakes in LED installations don’t just affect performance — they shorten product lifespan and can introduce serious risks.
Common problems include using 12V LED tape with a 24V driver, skipping aluminium profiles for heat dissipation, or poor cable management. These put excess strain on components and often result in flickering, discolouration, or early failure.
In commercial environments, the consequences go further. Overloaded drivers or faulty wiring can create compliance issues or potential fire risks.
Most of these issues are avoidable with the right setup. A well-installed system supports even brightness, protects components, and performs reliably across demanding applications.
Common LED Lighting Mistakes
Below are some of the most common mistakes we see in LED installations.
Mismatched Voltages
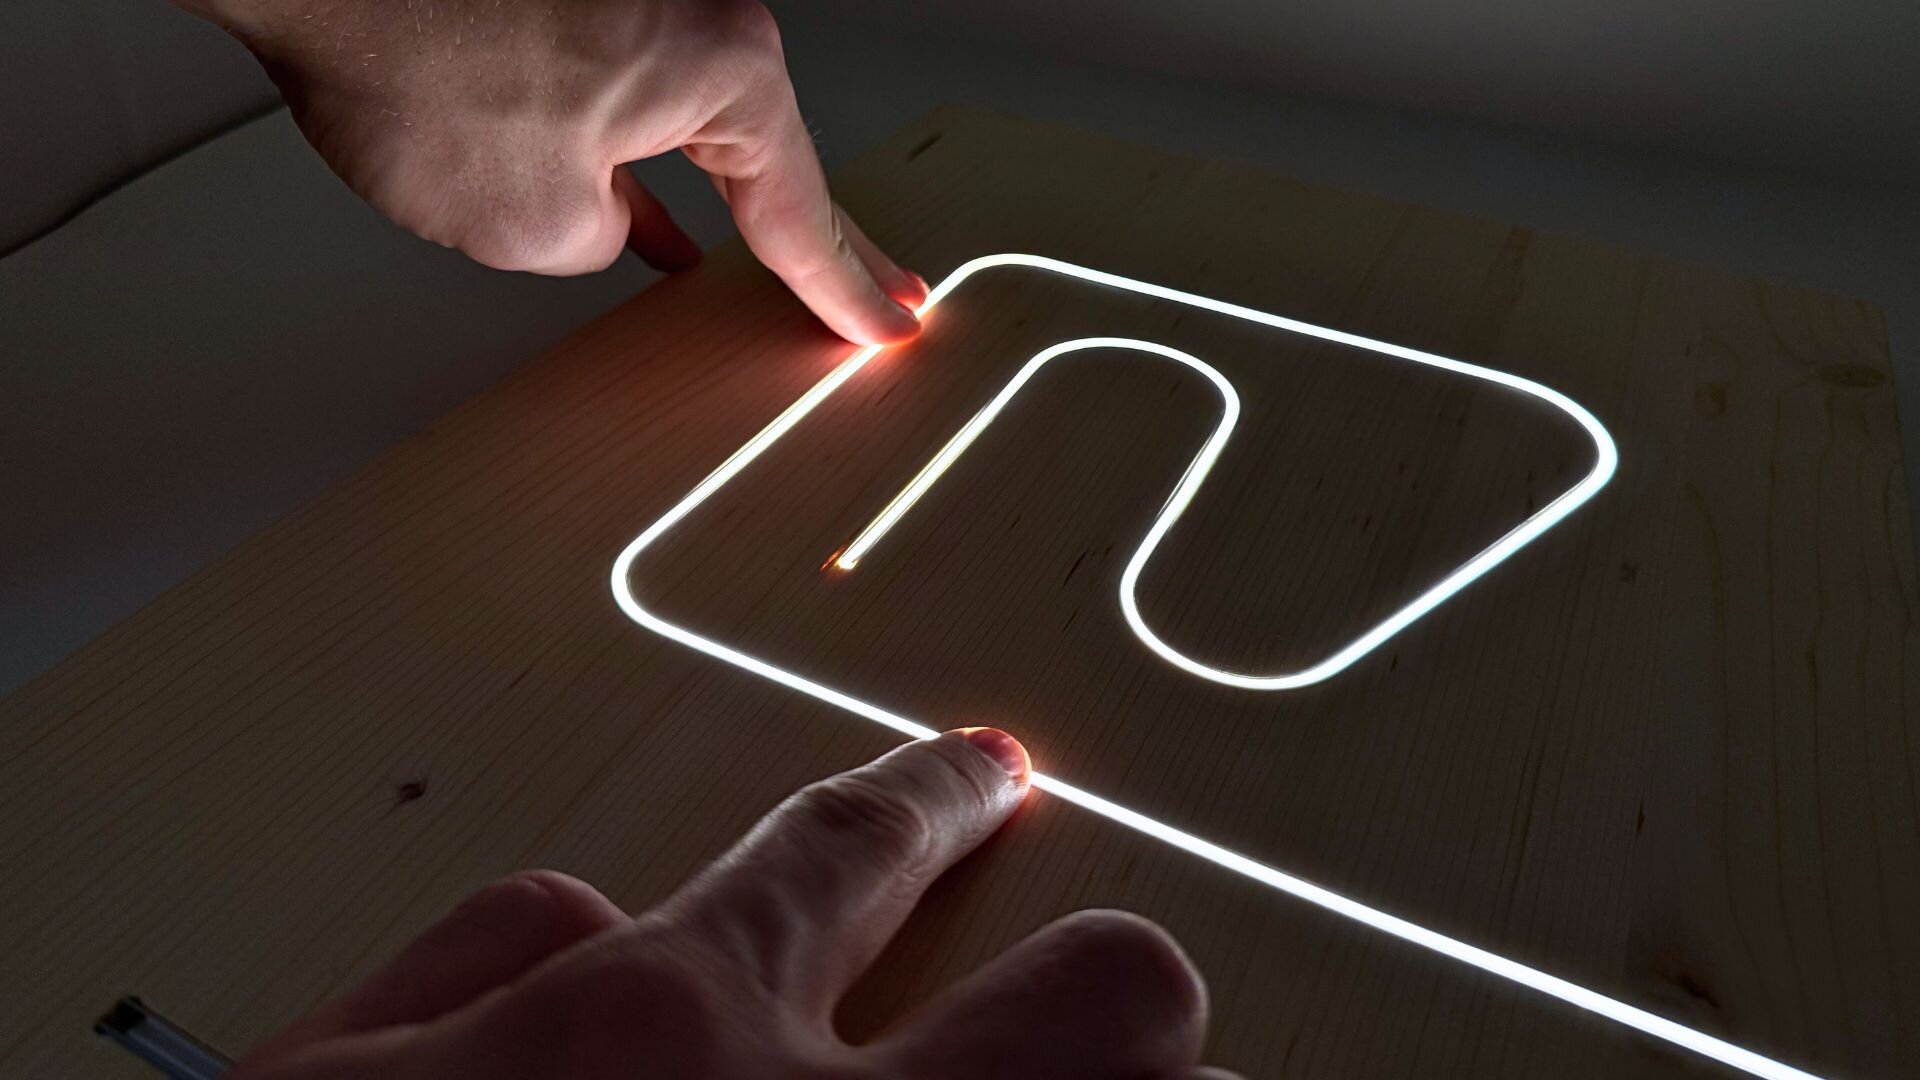
Pairing the wrong driver with LED tape is a common installation error.
There are multiple ways this can occur – for example, using a 24V LED driver with 12V LED tape forces the components to operate beyond their intended limits. This leads to rapid overheating, flickering, and permanent damage – often circuit failure.
To avoid this problem, always check that the driver's output voltage matches the LED tape requirements exactly.
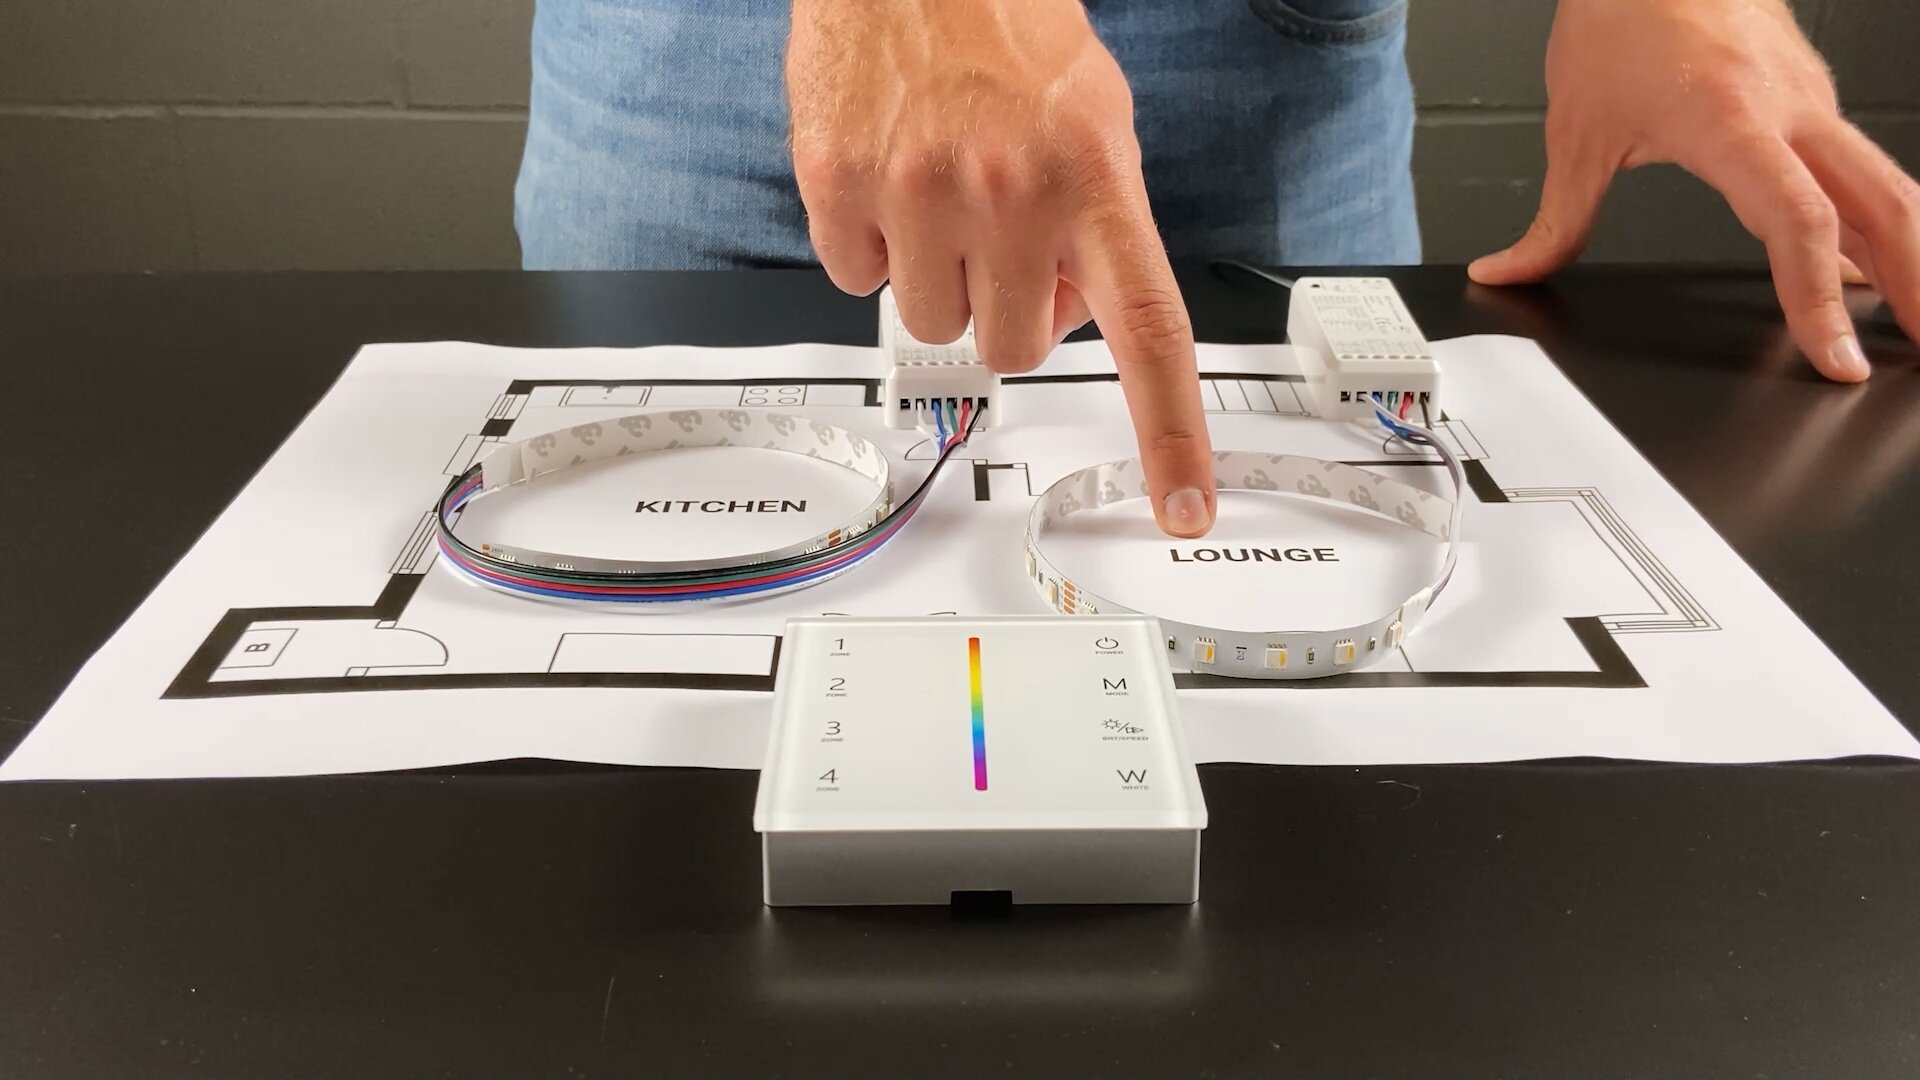
This extends to ensuring any receivers, controllers, and any other components in the system are compatible with both the voltage and overall wattage of the system. It's essential to assess the entire circuit before powering on, as mismatched voltage anywhere in the system can cause faults or damage equipment.
Before purchasing any components, carefully review all product specifications to prevent under-voltage issues (which cause dimming) or overvoltage problems (which cause overheating).
Incorrect Wiring And Connections
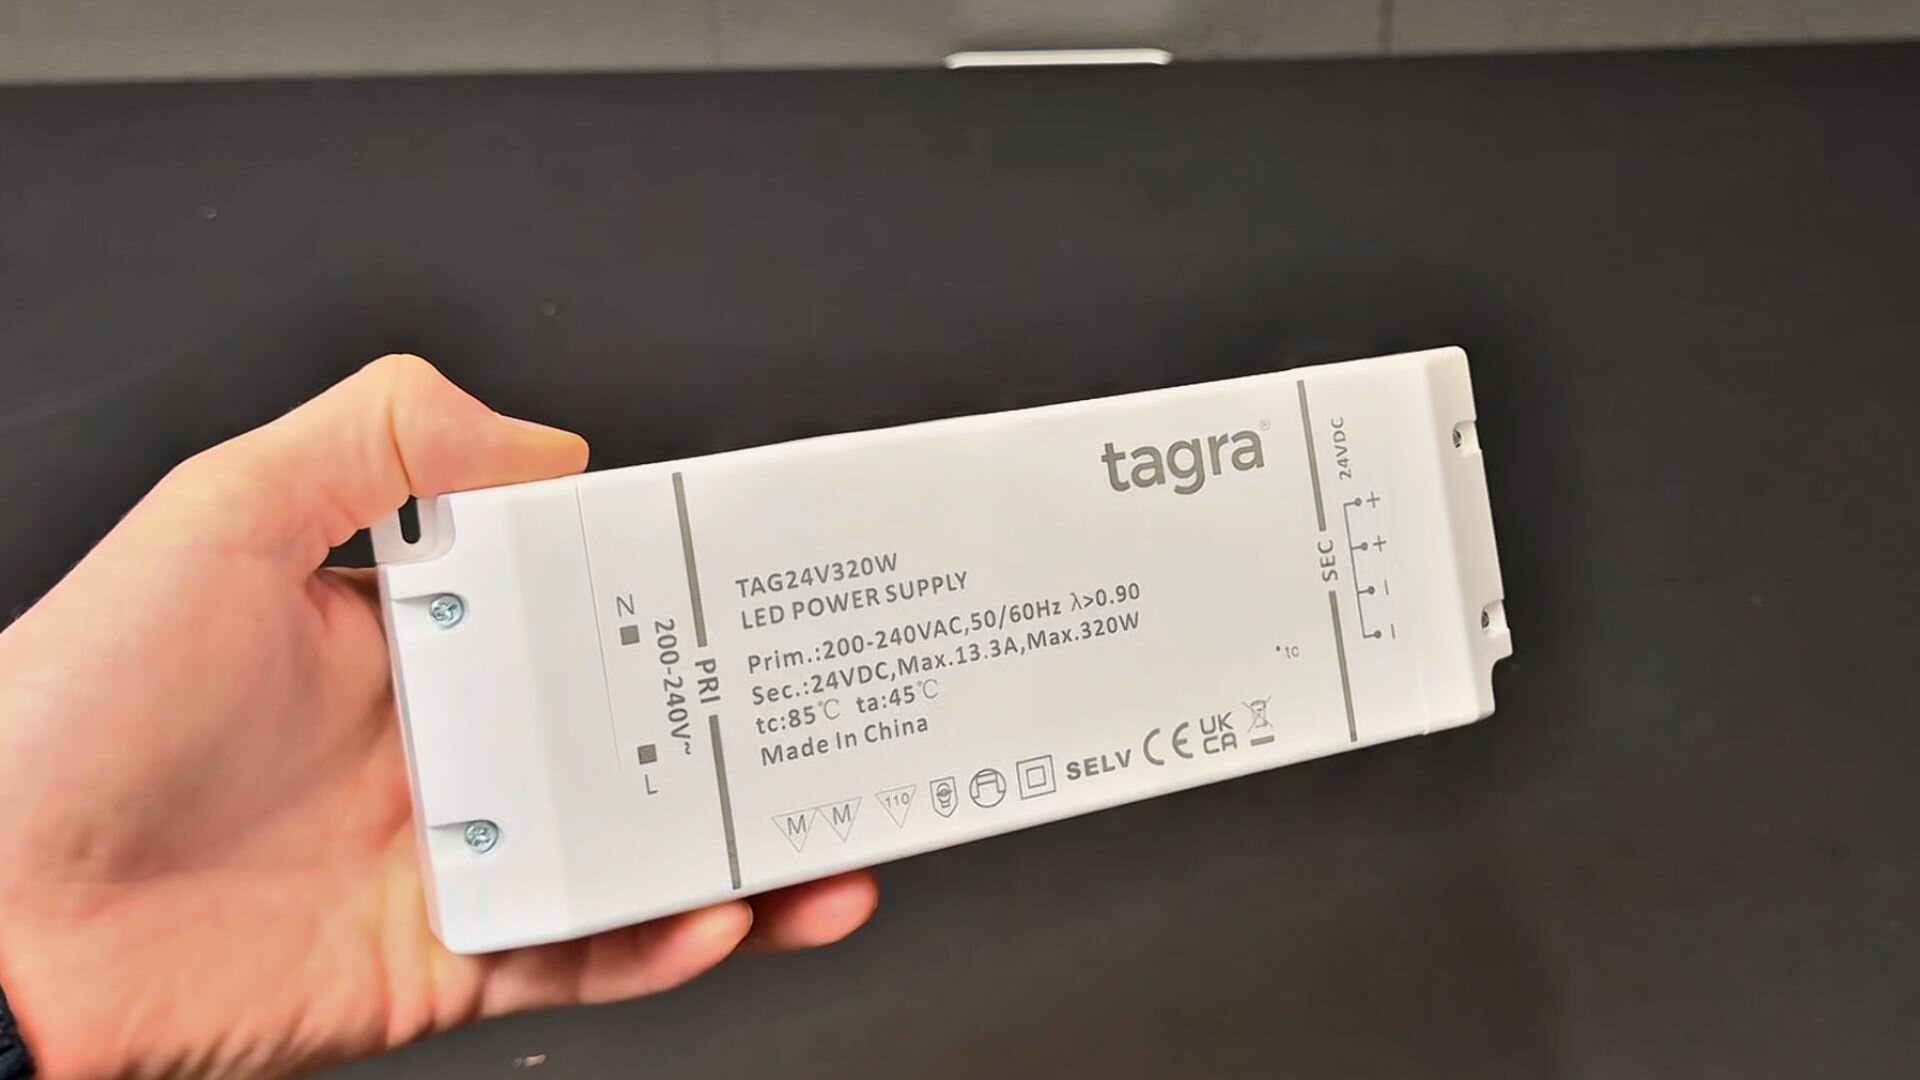
Faulty wiring is one of the most common causes of flickering, colour distortion, or complete circuit failure in LED installations.
To avoid these issues, follow polarity guidelines and use correct colour-coding during installation – especially when working with RGB and RGBW systems. Incorrect wiring can reverse colours or cause short circuits.
Use cables rated for the correct voltage, current, and gauge required by the LED setup, and secure all connections to avoid loose wiring or signal loss.
Always test the full circuit before finalising the install. This simple step helps catch potential issues early and avoids time-consuming troubleshooting later.
Exposed LED Strips Without Diffusers
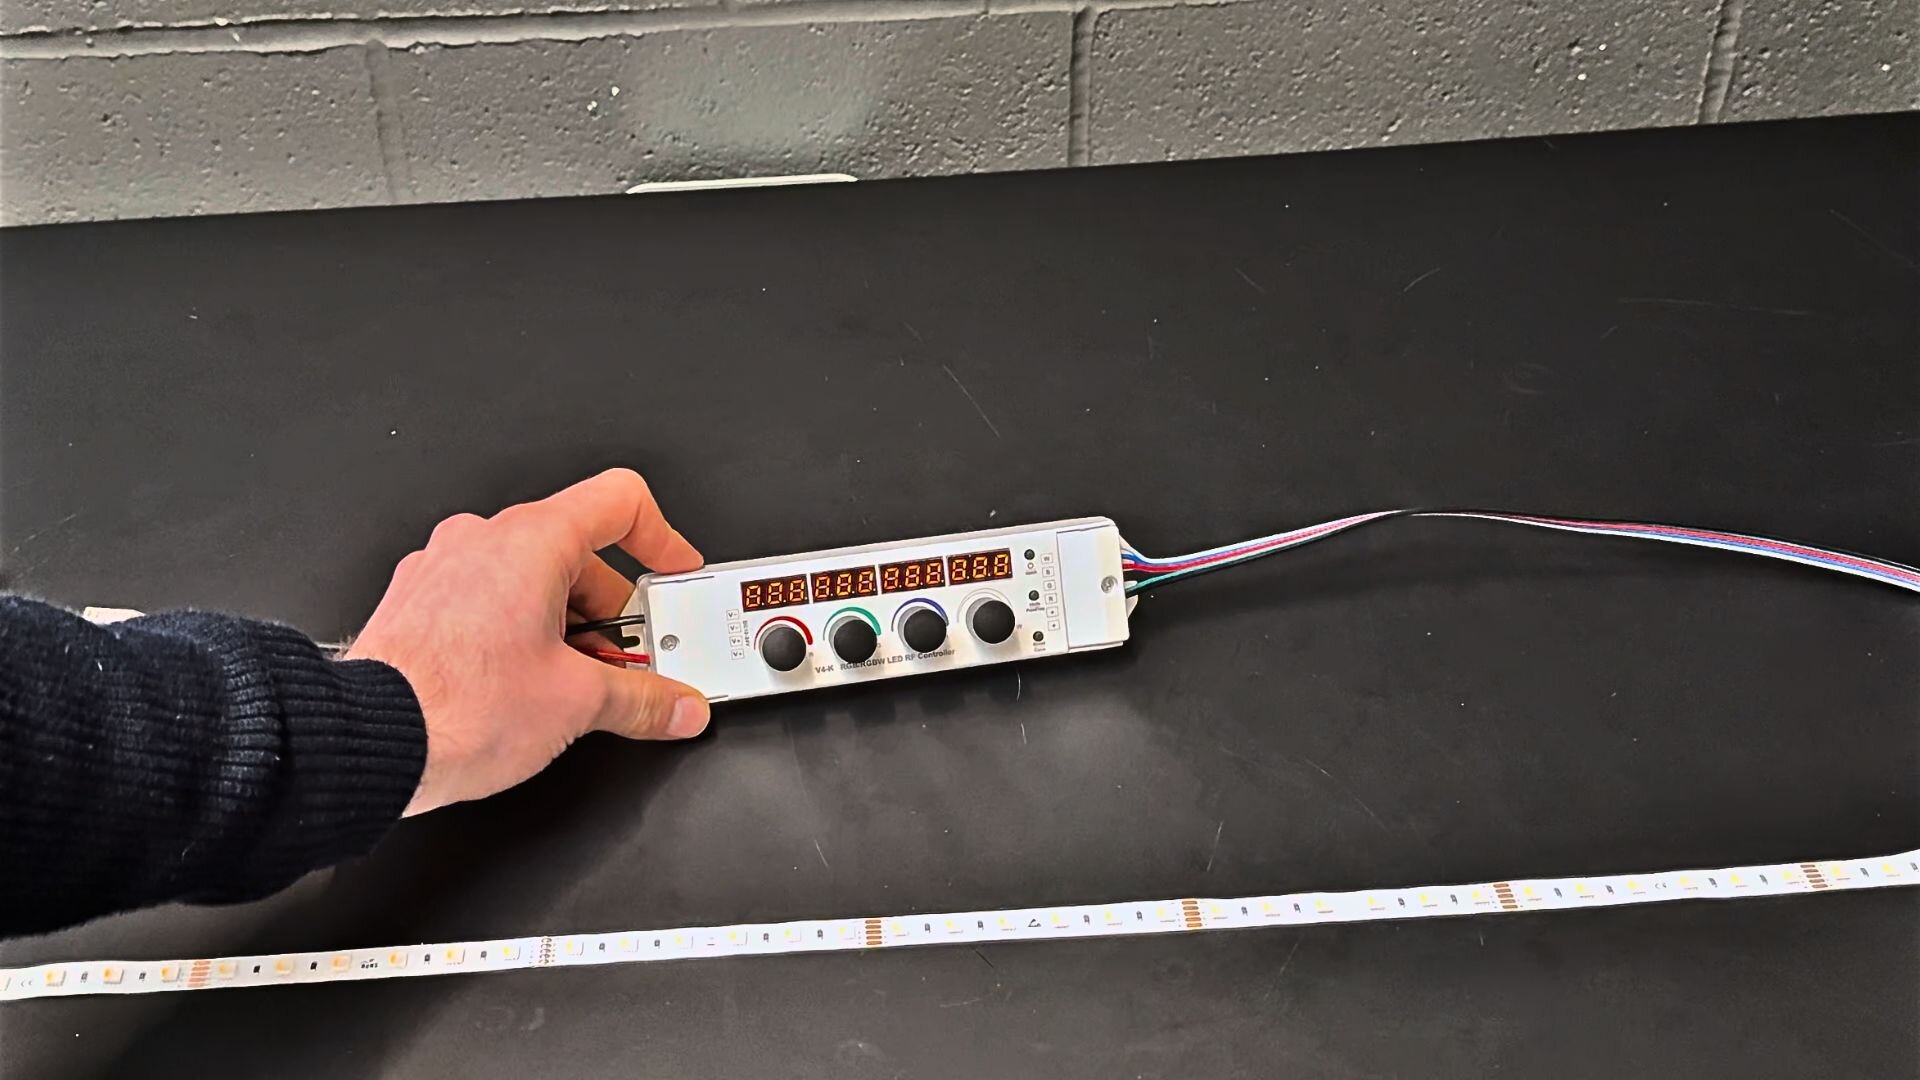
One of the biggest giveaways of a rushed LED installation is leaving the strips exposed. Without diffusion, lighting can give off a harsh glare and uneven lighting and result in spotting - visible bright spots (or "hotspots") along the strip.
The solution is straightforward: use LED profiles with suitable diffusers. These not only soften the light for a smoother, more ambient glow but also protect the LEDs from dust and physical damage.
Key LED Diffuser Benefits Include:
- Clear: Allows around 90–95% of brightness through, delivering crisp, direct illumination with minimal diffusion.
- Semi-Clear: Strikes a balance between sharp brightness and softness, transmitting roughly 70–75% of light.
- Opal: Perfect for ambient lighting – delivers a soft, even glow with only 45–50% light transmission, reducing visible LED hotspots.
- Black: Offers a stylish, low-glare effect for more sophisticated, subtle setups – ideal for galleries, exhibits, or hospitality spaces.

Cutting LED Strips Incorrectly
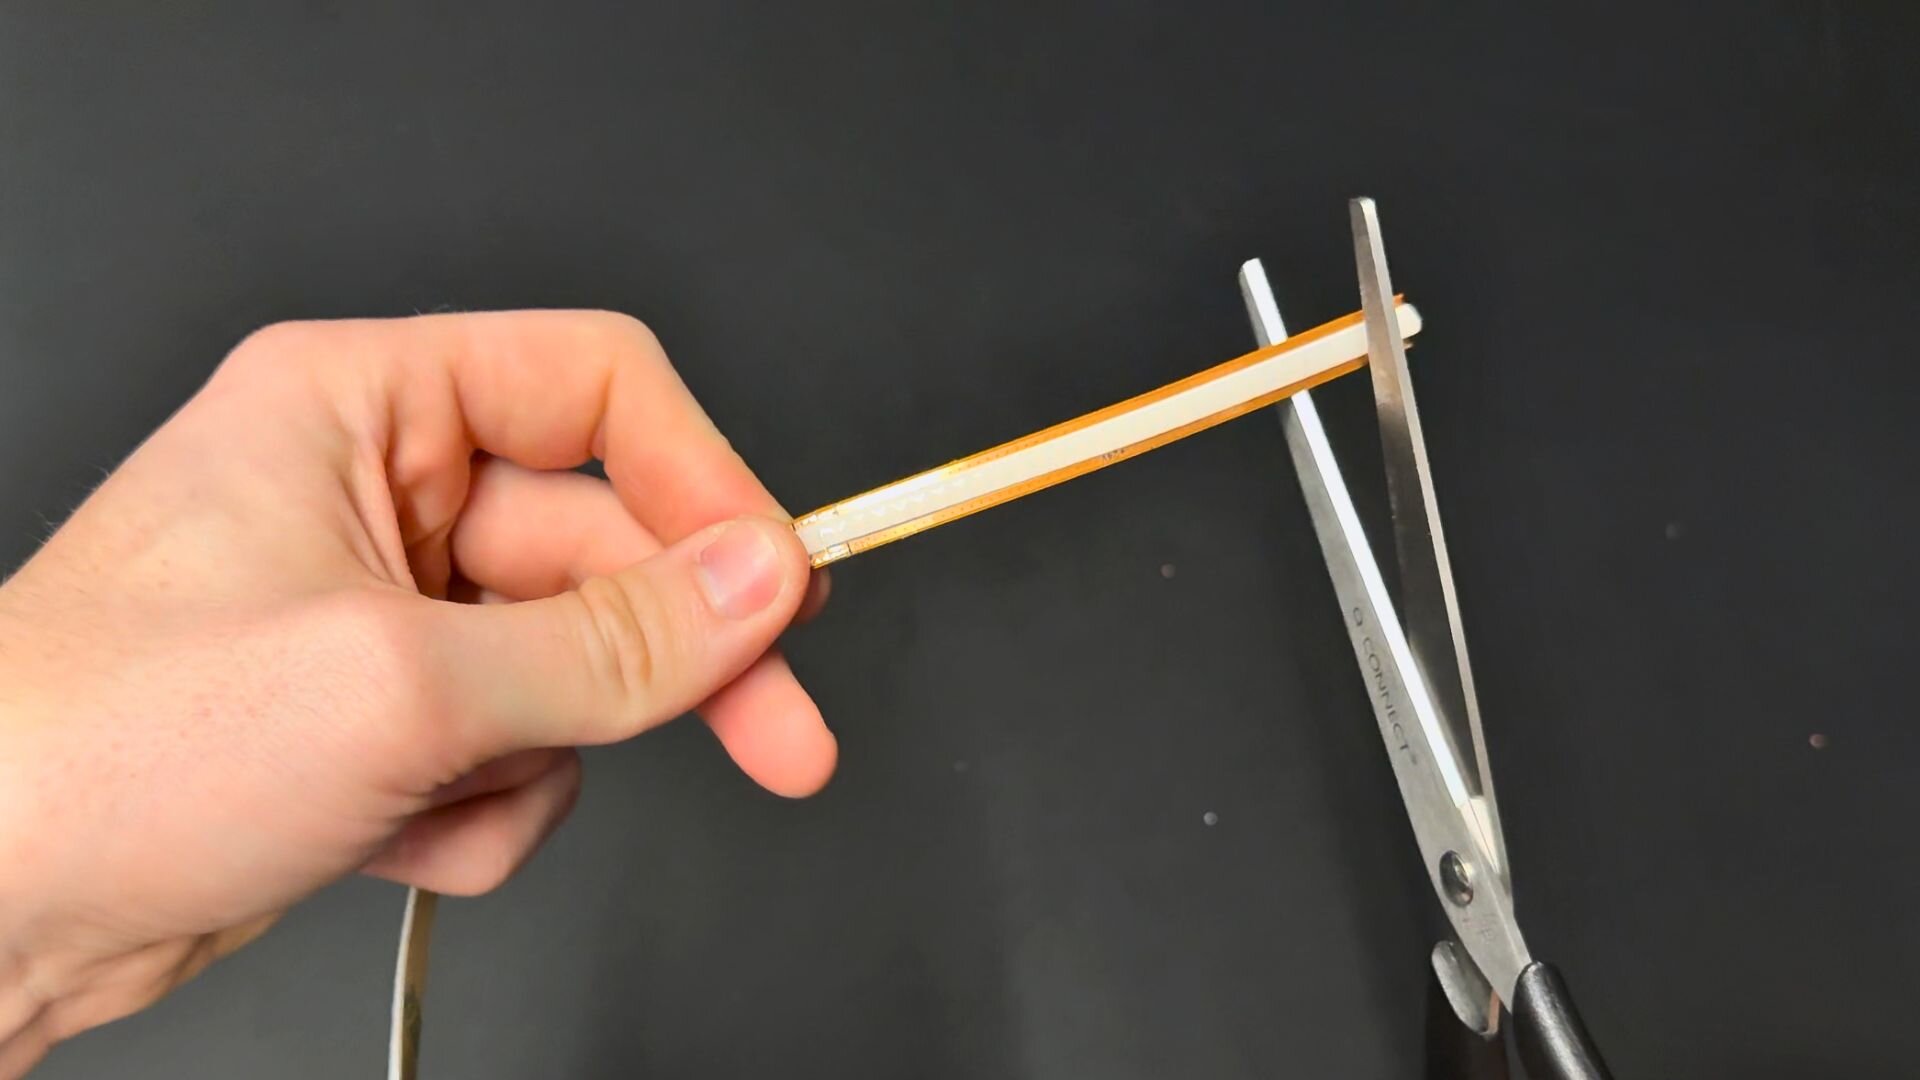
LED strips can be cut to fit a project, but only at designated cut points. Cutting in the wrong place breaks the circuit, causing that section to fail.
To avoid this, look for the marked cut points — usually shown with copper pads and a scissor icon. Use sharp scissors to cut cleanly without damaging the components.
For installations needing custom lengths without fixed intervals, Tagra Professional COB Cut Anywhere Strip Lights offer flexible, accurate cutting at any point along the strip.
When reconnecting sections, use proper soldering or reliable solderless connectors, such as tape-to-wire clips suited to the specific LED type.
For more guidance, refer to our full step-by-step cutting guide.
Overloading The Power Supply
To prevent overloading, calculate the total wattage by multiplying the LED strip’s watts per metre by its total length. Add a 10–20% safety margin when selecting a power supply.
For example, a 5-metre strip rated at 11.2W/m requires a driver rated for at least 61W (5 × 11.2 × 1.1 = 61.6W).
For longer runs, consider using multiple drivers or power injection points to maintain consistent brightness. Ultra LEDs’ power supplies include built-in thermal protection for safer, more reliable installations.

Preventative Measures for Long-Lasting LED Installations
To ensure long-term performance, start with high-quality components. Ultra LEDs only supplies binned LED tape from the same batch to maintain consistent brightness and colour across installations.
Effective heat management is essential. Always install LED strips onto metal surfaces or within aluminium profiles to act as heat sinks. Avoid wood, fabric, or other materials that don’t provide sufficient thermal dissipation.
Mounting matters. Use appropriate tracks, clips, or strong adhesive backing to prevent sagging or detachment over time.
Schedule regular maintenance:
– Check all wiring and connections.
– Clean dust from profiles and diffusers.
– Tighten any fittings as needed.
These steps help extend the lifespan of the installation and reduce the risk of failure over time.
FAQs - answering common LED lighting questions
How do I calculate the right power supply for my LED setup?
To calculate an installation's power needs, multiply the wattage per meter of the LED strip by the total length. For extra safety and to keep things running smoothly, add a 10-20% margin to allow for power fluctuations and avoid overworking the driver.
Why do I need a diffuser, and which type should I choose?
Diffusers smooth out harsh light spots and give a more polished look. The project will dictate which type to choose: opal diffusers create soft, ambient light perfect for living spaces, clear diffusers allow higher light transmission for task lighting, semi-clear options offer a balance between sharp illumination and soft diffusion for general lighting, and black diffusers deliver a sleek, low-glare finish for high-end installations.
What happens if I cut LED tape incorrectly?
Cutting in the wrong spot will damage the LED tape, causing sections of the strip to stop working. Always make sure to cut at the designated copper points (marked with scissor icons), and use the right connectors when joining sections together.
How can I ensure my wiring is correct?
Double-check the polarity before connecting the power, use colour-coded or labelled cables to avoid any confusion, and test everything before finalising the installation.
For RGB, RGBW, and CCT strips, make sure the colour wire sequence follows the manufacturer's guide to get the right colour output. If you’re using Pixel LED strips, then refer to the manufacturer’s wiring instructions as well for proper setup.
Steer clear of installation issues with Ultra LED's premium selection of LED strips, drivers, profiles, and diffusers.
Each product is designed to deliver peak performance, lasting durability, and easy integration. For more information, contact us today; our friendly team is ready to help with any questions or concerns you may have.
Get in touch with Ultra LEDs today
Planning your next lighting install? Explore Ultra LEDs’ full range of drivers, LED strips, and accessories — built to deliver reliable, professional results across commercial and display projects.


